This guide helps developers create next-generation mobile experiences.
Android SDK Overview
Welcome to the Android SDK Developer Guide for integrating payments via Network International. This SDK allows you to accept payments in your Android app using a prebuilt checkout flow and secure APIs.
You can find the SDK and sample app on GitHub:
👉 Android Payment SDK on GitHub
Requirements
Supported Android Version
- Minimum API level: 19 (Android 4.4, KitKat)
- See full compatibility guidelines in the Android SDK docs.
Development Environment
- Language: Kotlin (version 1.3+ with Coroutine support)
- IDE: Android Studio
- Compatible with Java-based Android projects
The SDK leverages Kotlin Coroutines for background and I/O operations to avoid conflicts with third-party dependencies and simplify integration.
Language and Currency Support
- Languages: English and Arabic
- Currencies: Supports AED (Emirati Dirham) by default. Other valid currencies are also supported—refer to the Payment Gateway for details.
Getting Started
To explore the SDK in action or begin integration, use the provided Furniture Store sample app or import the SDK modules directly into your own project.
Included Modules
app module
app module-
Contains the sample merchant app
-
Depends on:
payment-sdkpayment-sdk-core- Popular Android libraries: RxJava, Retrofit, OkHttp, Glide
payment-sdk module
payment-sdk module- Implements the Pay Page for card-based payments
- Collects card details, handles 3D Secure (if required), and submits requests to the Payment Gateway
- Returns the result (success/failure) via an
Intentbundle
payment-sdk-core module
payment-sdk-core module- Provides shared interfaces and classes used by other SDK modules
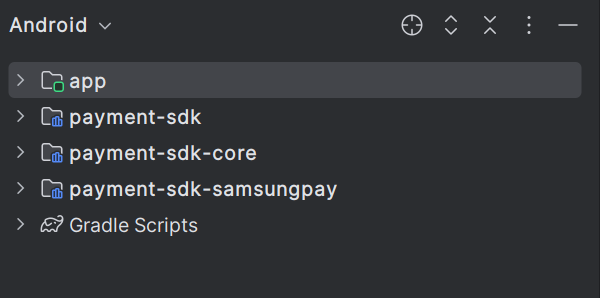
Android SDK App Modules
Download the SDK and Sample App
To get started, clone the SDK and sample project from GitHub:
git clone https://github.com/network-international/payment-sdk-android.gitAlternatively, you can download the ZIP if you prefer not to use Git.
After downloading:
- Open the project in Android Studio.
- Allow Gradle to sync and download dependencies.
- Run the Furniture Store sample app on your emulator or physical device.
Make sure your device or emulator is running at least Android 4.4 (API19).
Run the Sample App and Merchant Server
To explore how the SDK works in a real-world scenario, you can use the provided Sample App and Sample Merchant Server. Follow the steps below to get everything up and running in your local environment.
The sample merchant servers are available in two versions: PHP and JavaScript(Node.JS).
Step 1: Import the Sample Merchant App
-
Open Android Studio.
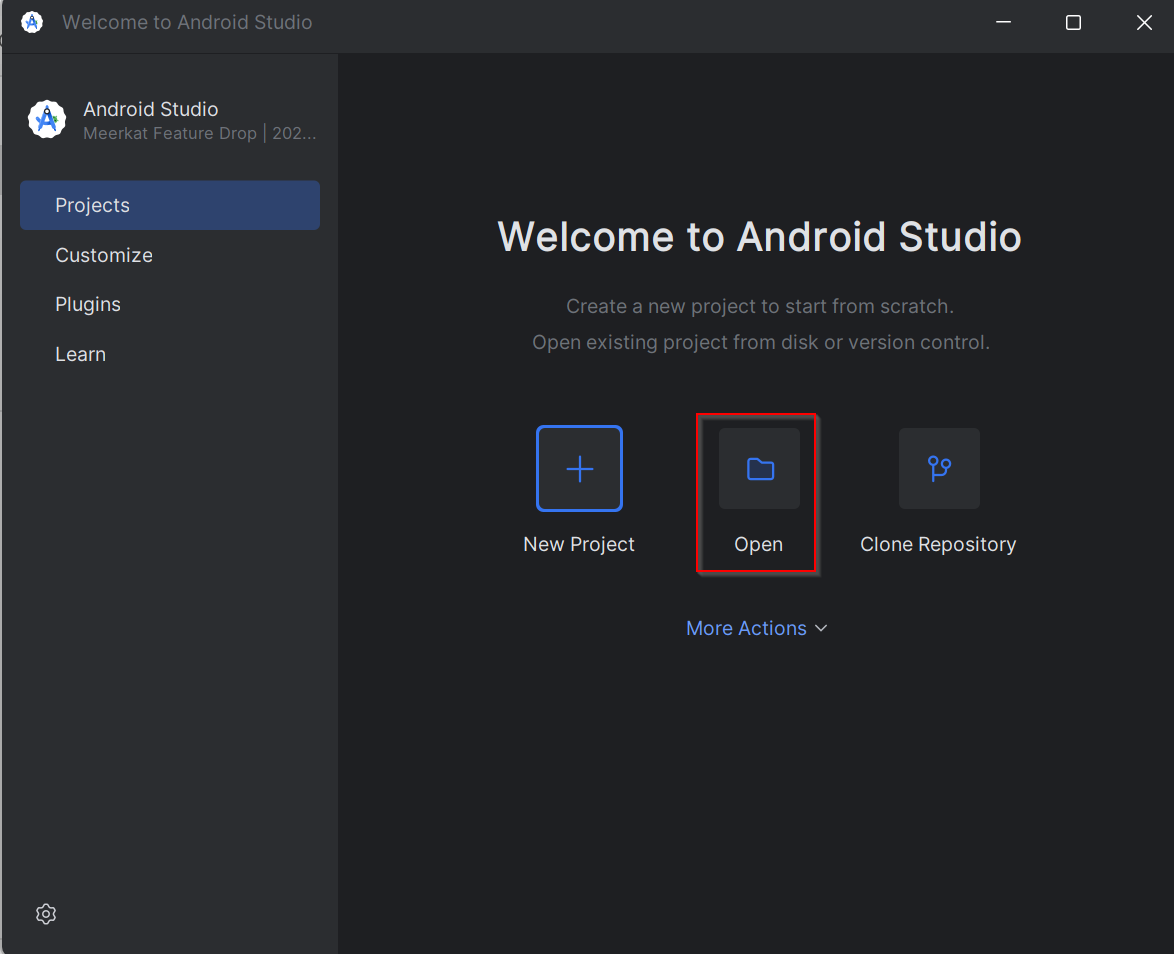
Open Project - Android Studio
-
Select "Open an existing project" from the welcome screen.
-
Browse to the folder where you cloned the SDK (
payment-sdk-android). -
Select the root directory and click Open.
-
Allow Gradle to sync and download any missing dependencies.
-
Once the project loads, you’re ready to run the app in an emulator or on a real device.
Step 2: Run the Sample Merchant Server
A sample Node.js-based merchant server is included to simulate a backend environment. It handles communication with the Payment Gateway and serves mock payment data.
Prerequisites
- Node.js must be installed on your system.
Download and install Node.js
🔧 Configuration
- Install the
dotenvpackagenpm install dotenv - Open the app.js file
- Add the following line to the file:
require('dotenv').config(); - Add your merchant credentials and Payment Gateway endpoint in a
.envfile. - The N-Genius portal provides these values.
Click here to learn more .
Example .env file:
API_KEY=your_api_key_here
IDENTITY_API_URL=https://your.identity.api.url
GATEWAY_API_URL=https://your.gateway.api.url
PORT=3000
REALM=your_realm_here
Start the Server
Open a terminal in the project directory and run:
node app.js
Once the server is running, test it by opening:
http://localhost:3000/health
If the server does not load, check the terminal logs for errors.
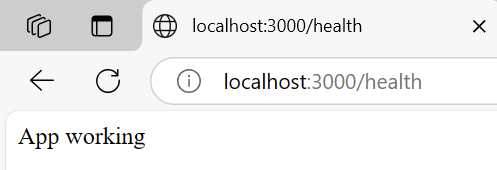
App Working
Step 3: Connect the App to the Server
- Open the
build.gradle (Module: app)file. - Set the
buildConfigFieldaddress of the merchant server.
Here's an example if you are running the server locally:
      debug {
            minifyEnabled false
            proguardFiles getDefaultProguardFile('proguard-android.txt'), 'proguard-rules.pro'
            buildConfigField "String", "BASE_URL", "\"http://10.0.2.2:3000/\""
        }

        release {
            minifyEnabled true
            shrinkResources true
            signingConfig signingConfigs.release
            proguardFiles getDefaultProguardFile('proguard-android.txt'), 'proguard-rules.pro'
            buildConfigField "String", "BASE_URL", "\"http://10.0.2.2:3000/\""
        }
For physical devices, ensure both the device and your development machine are connected to the same Wi-Fi network.
Step 4: Run the Sample App
Click the Run (Play) button in Android Studio to launch the app.
When the sample app opens, you’ll see an interface with the option to make a payment.
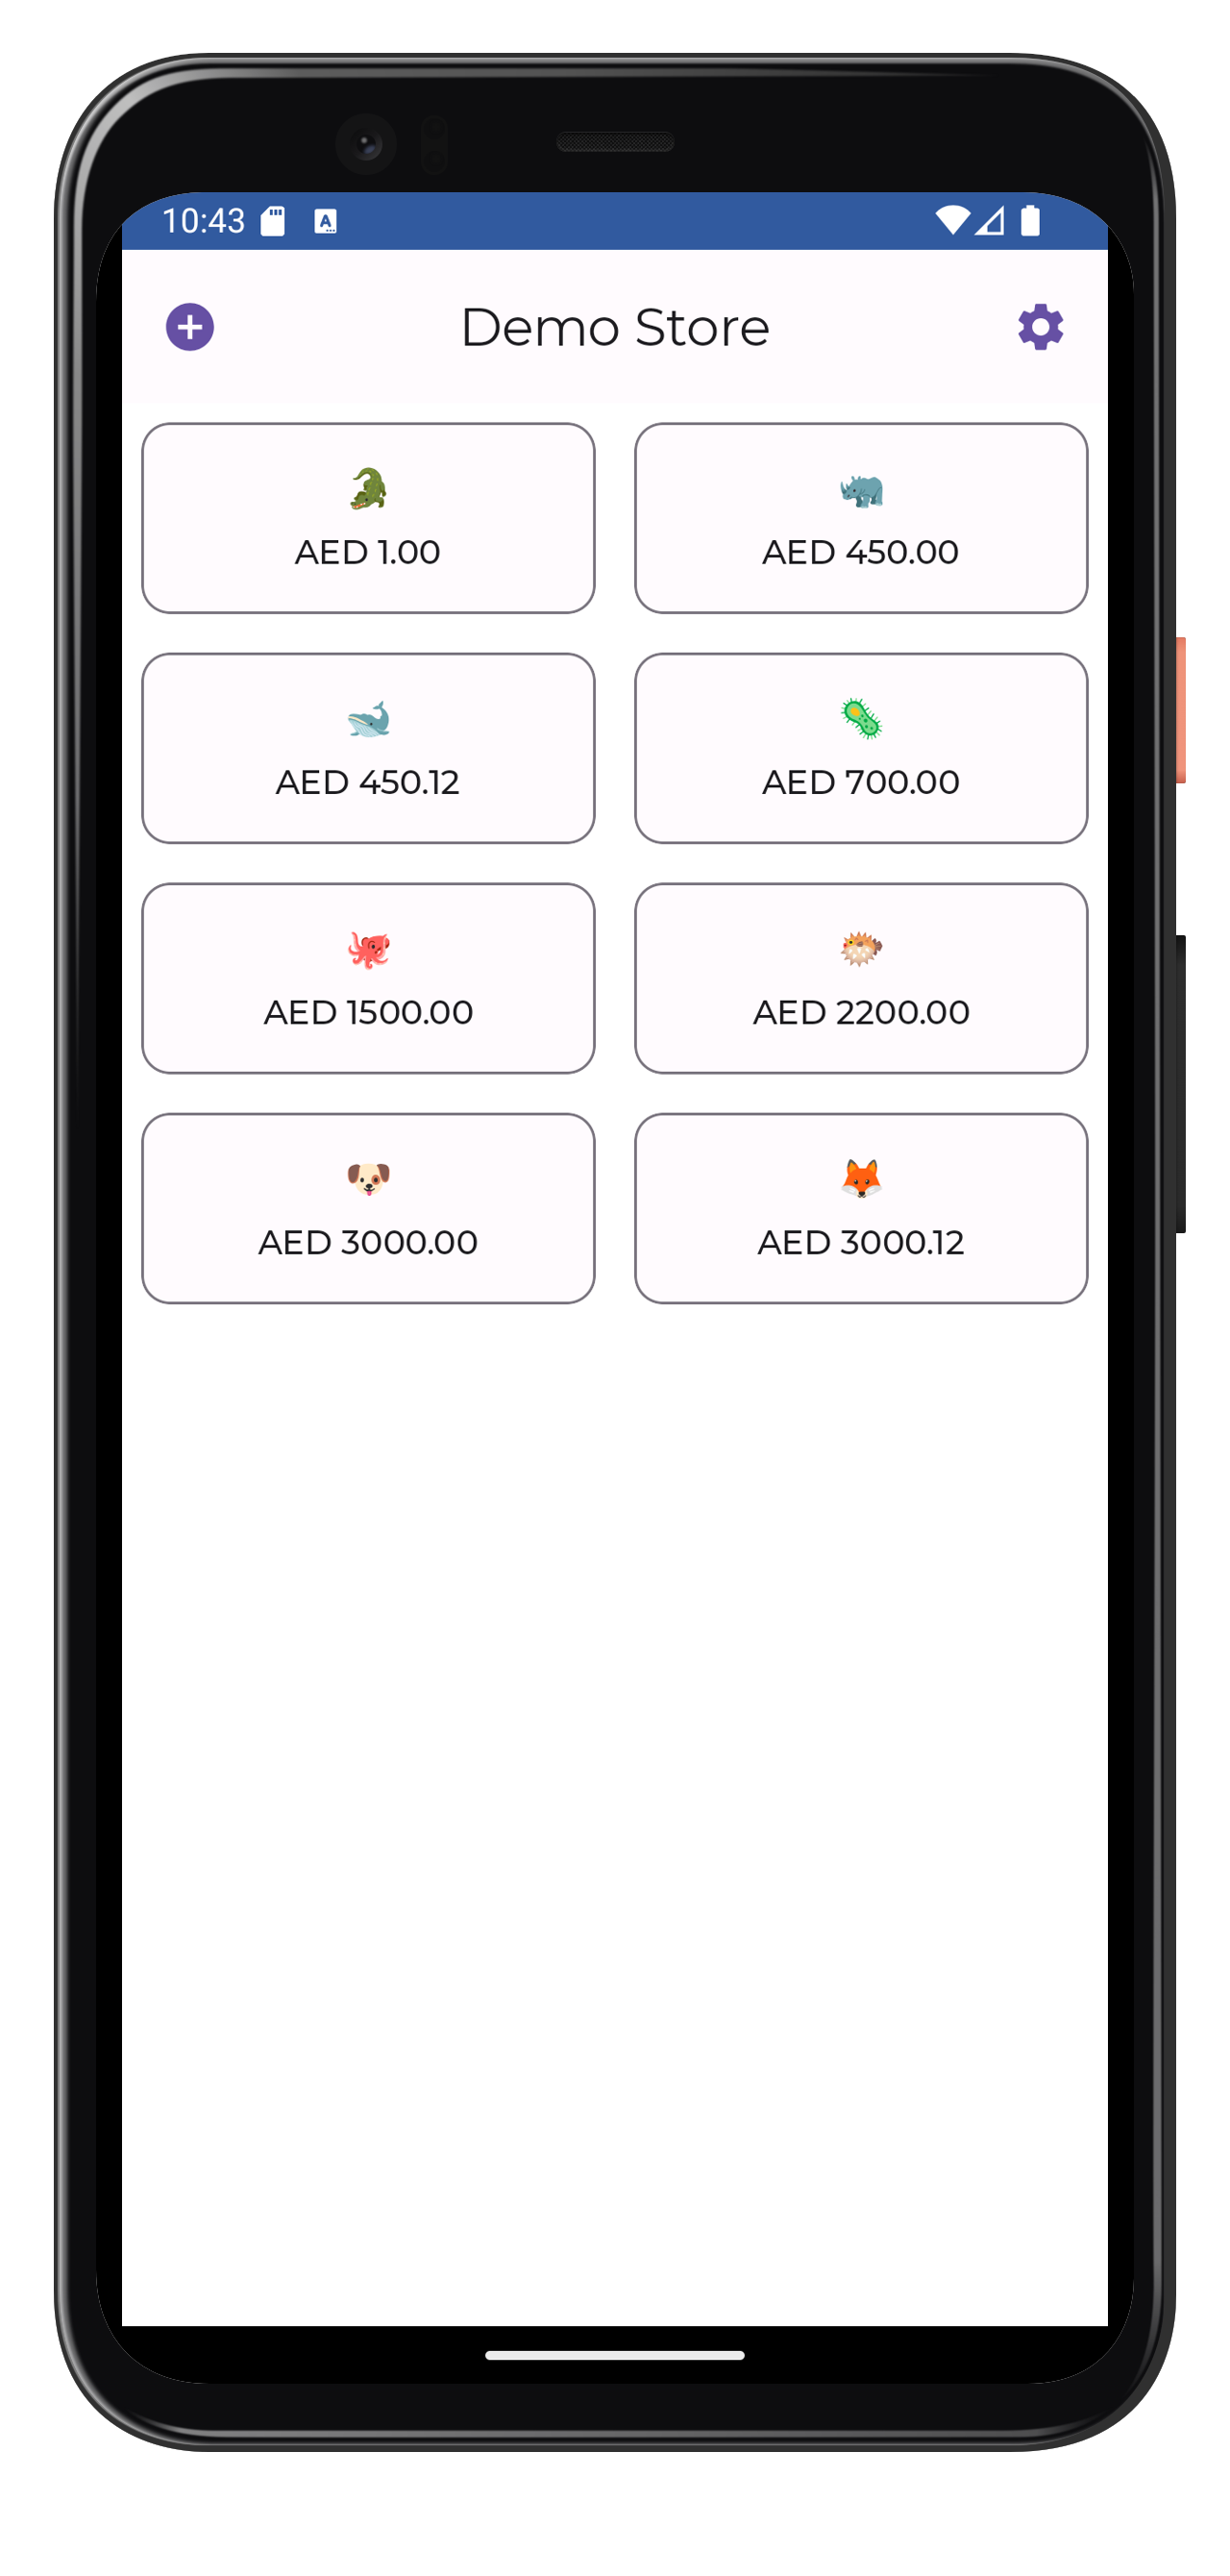
Demo Store
Before testing payments, we need to add some settings.
-
First, tap the gear icon in the app's top right corner.
-
Next, tap the "+" next to "Merchant Attributes," add a key-value pair, and tap "Add."
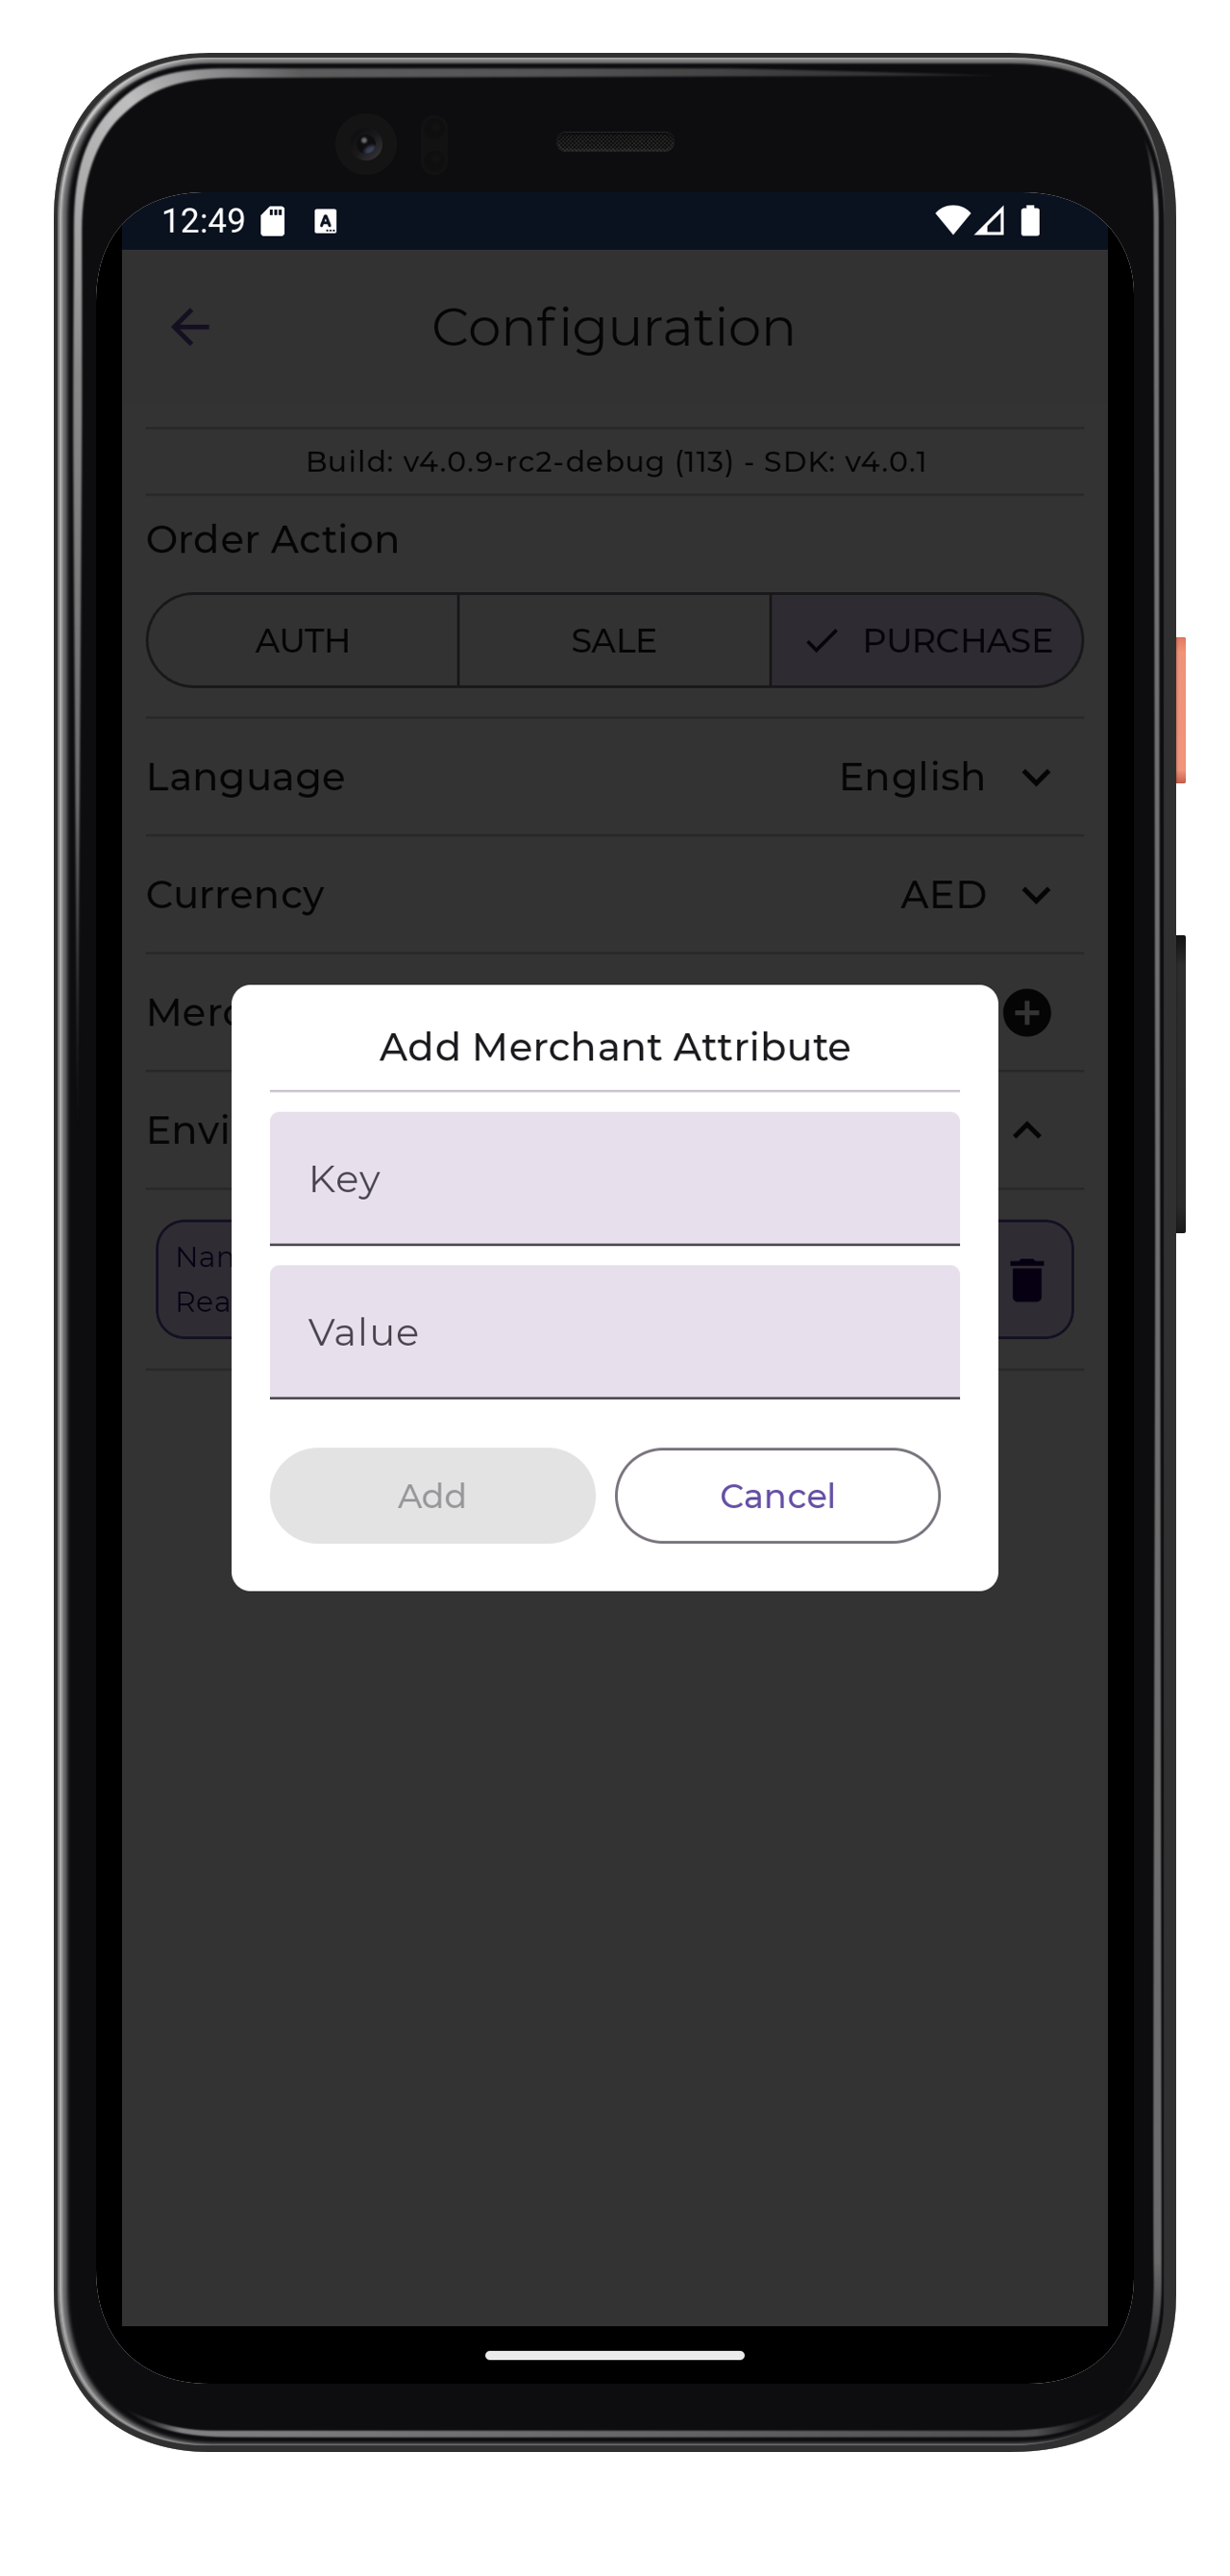
Merchant Attributes
-
Then, tap the "+" next to "Environments."
-
Enter a Name, your API key, outlet reference, and realm (found in the portal), and tap "Add."
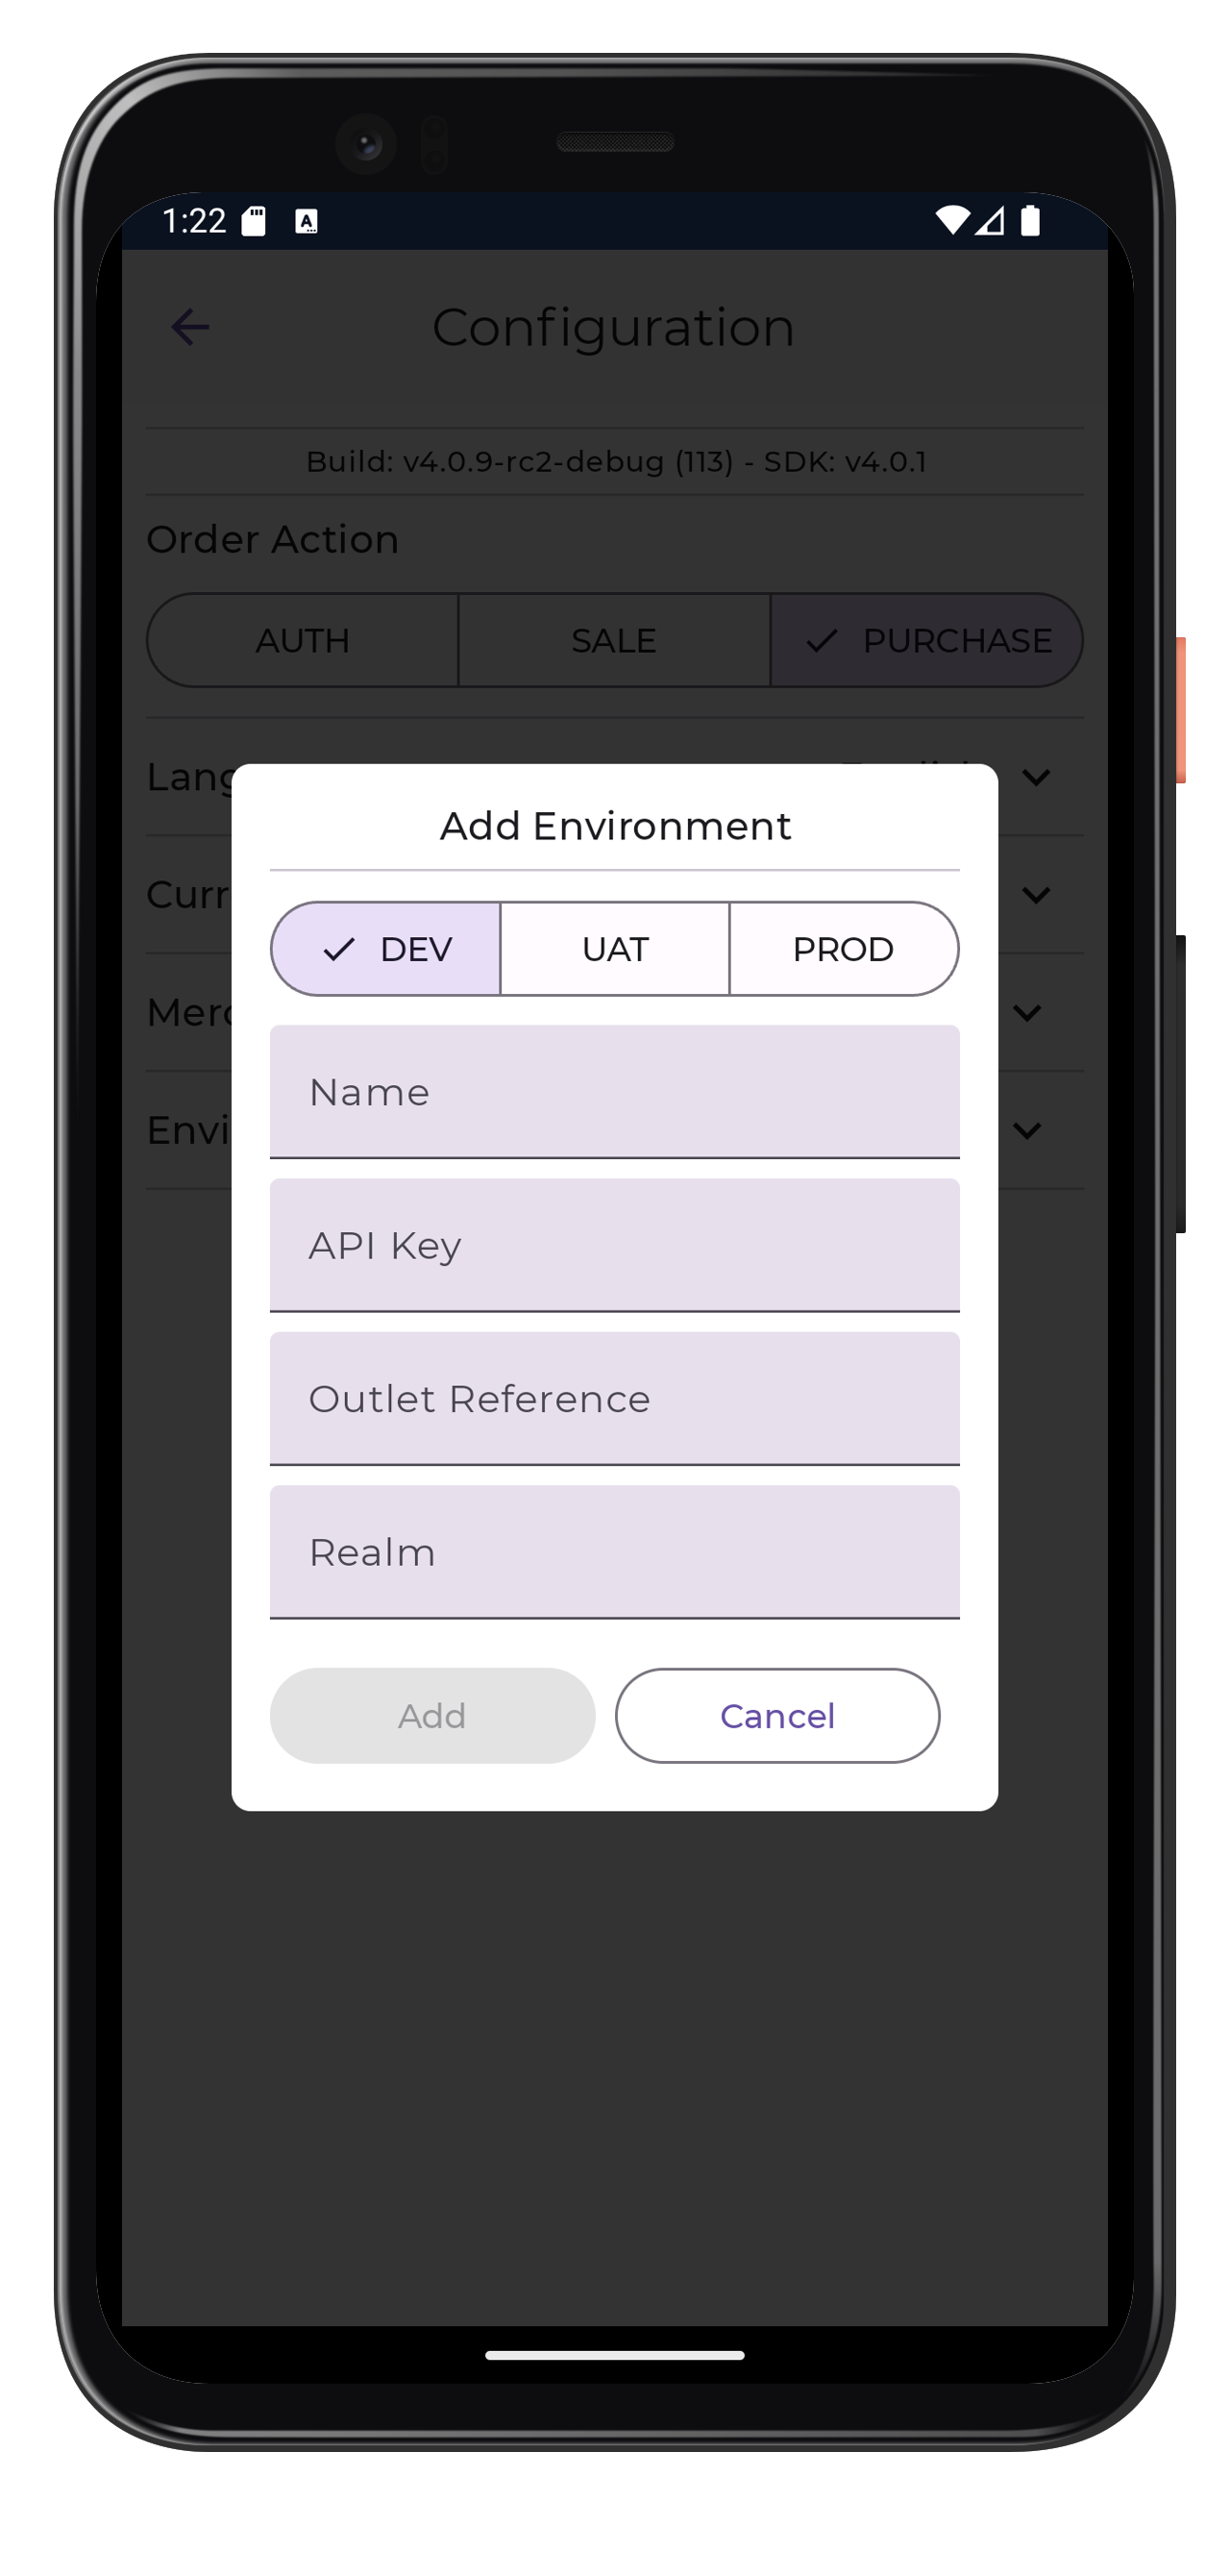
Add Environment
-
Tap the back button to return to the home screen.
For more details, click here.
Step 4: Use the app to make a payment
To test payments, use the app to select any item(s) from the Home screen. Tap "Pay" to proceed. Get a test card here.
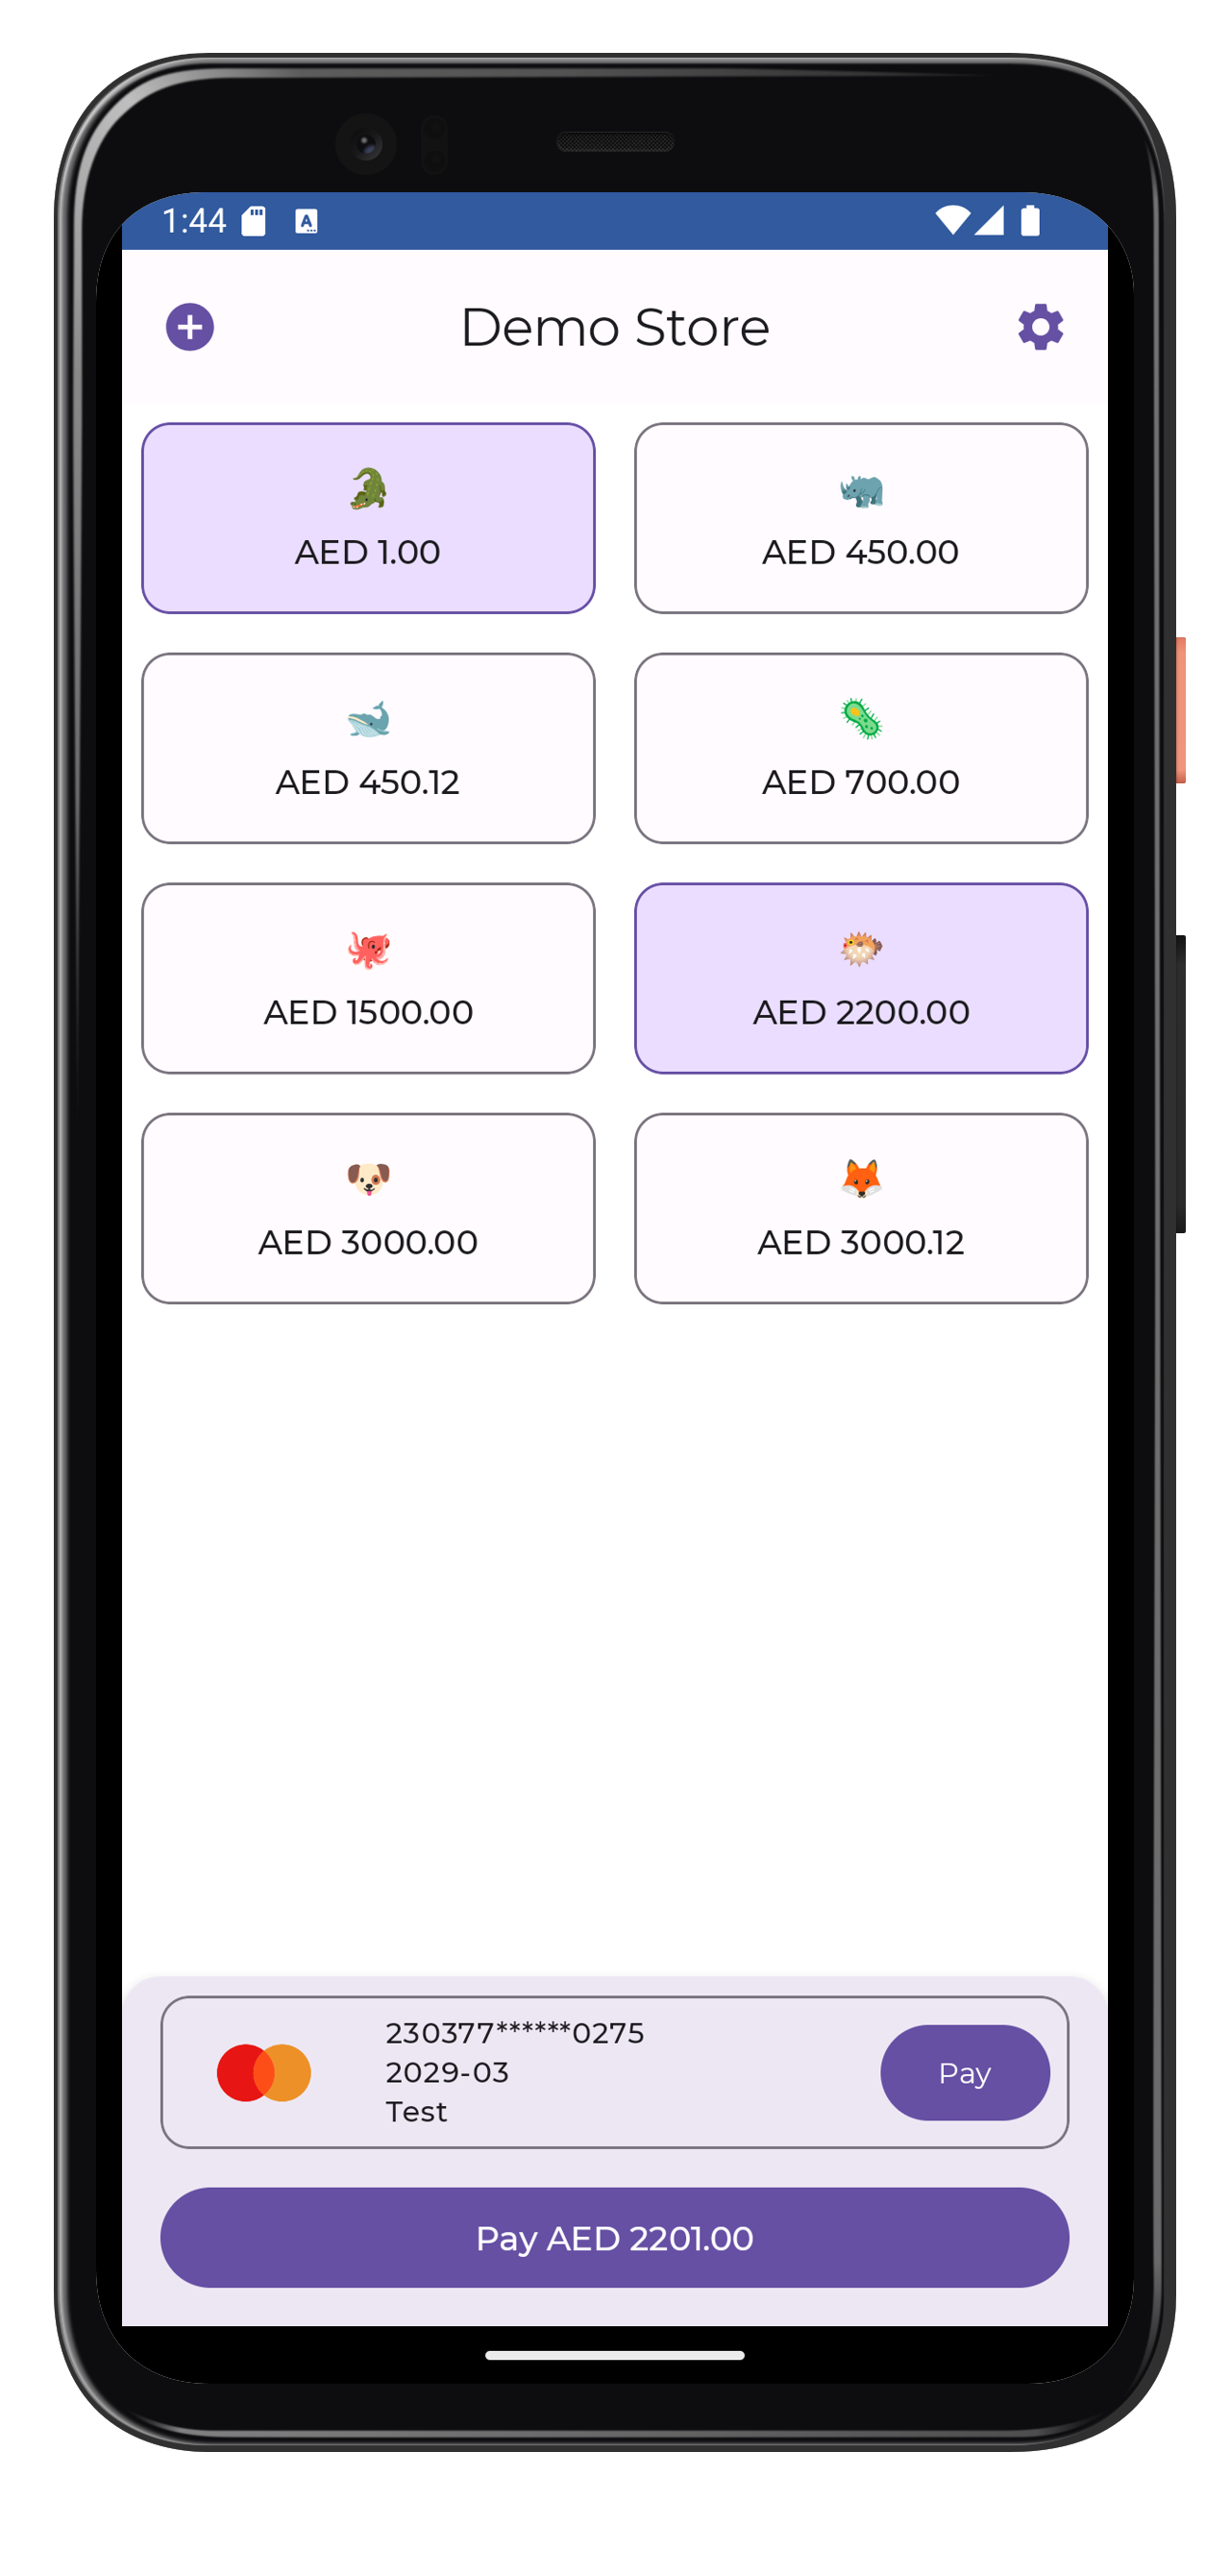
Select Items to Pay
Enter the card details (any name, expiry, CVV) on the payment screen and tap "Make Payment".
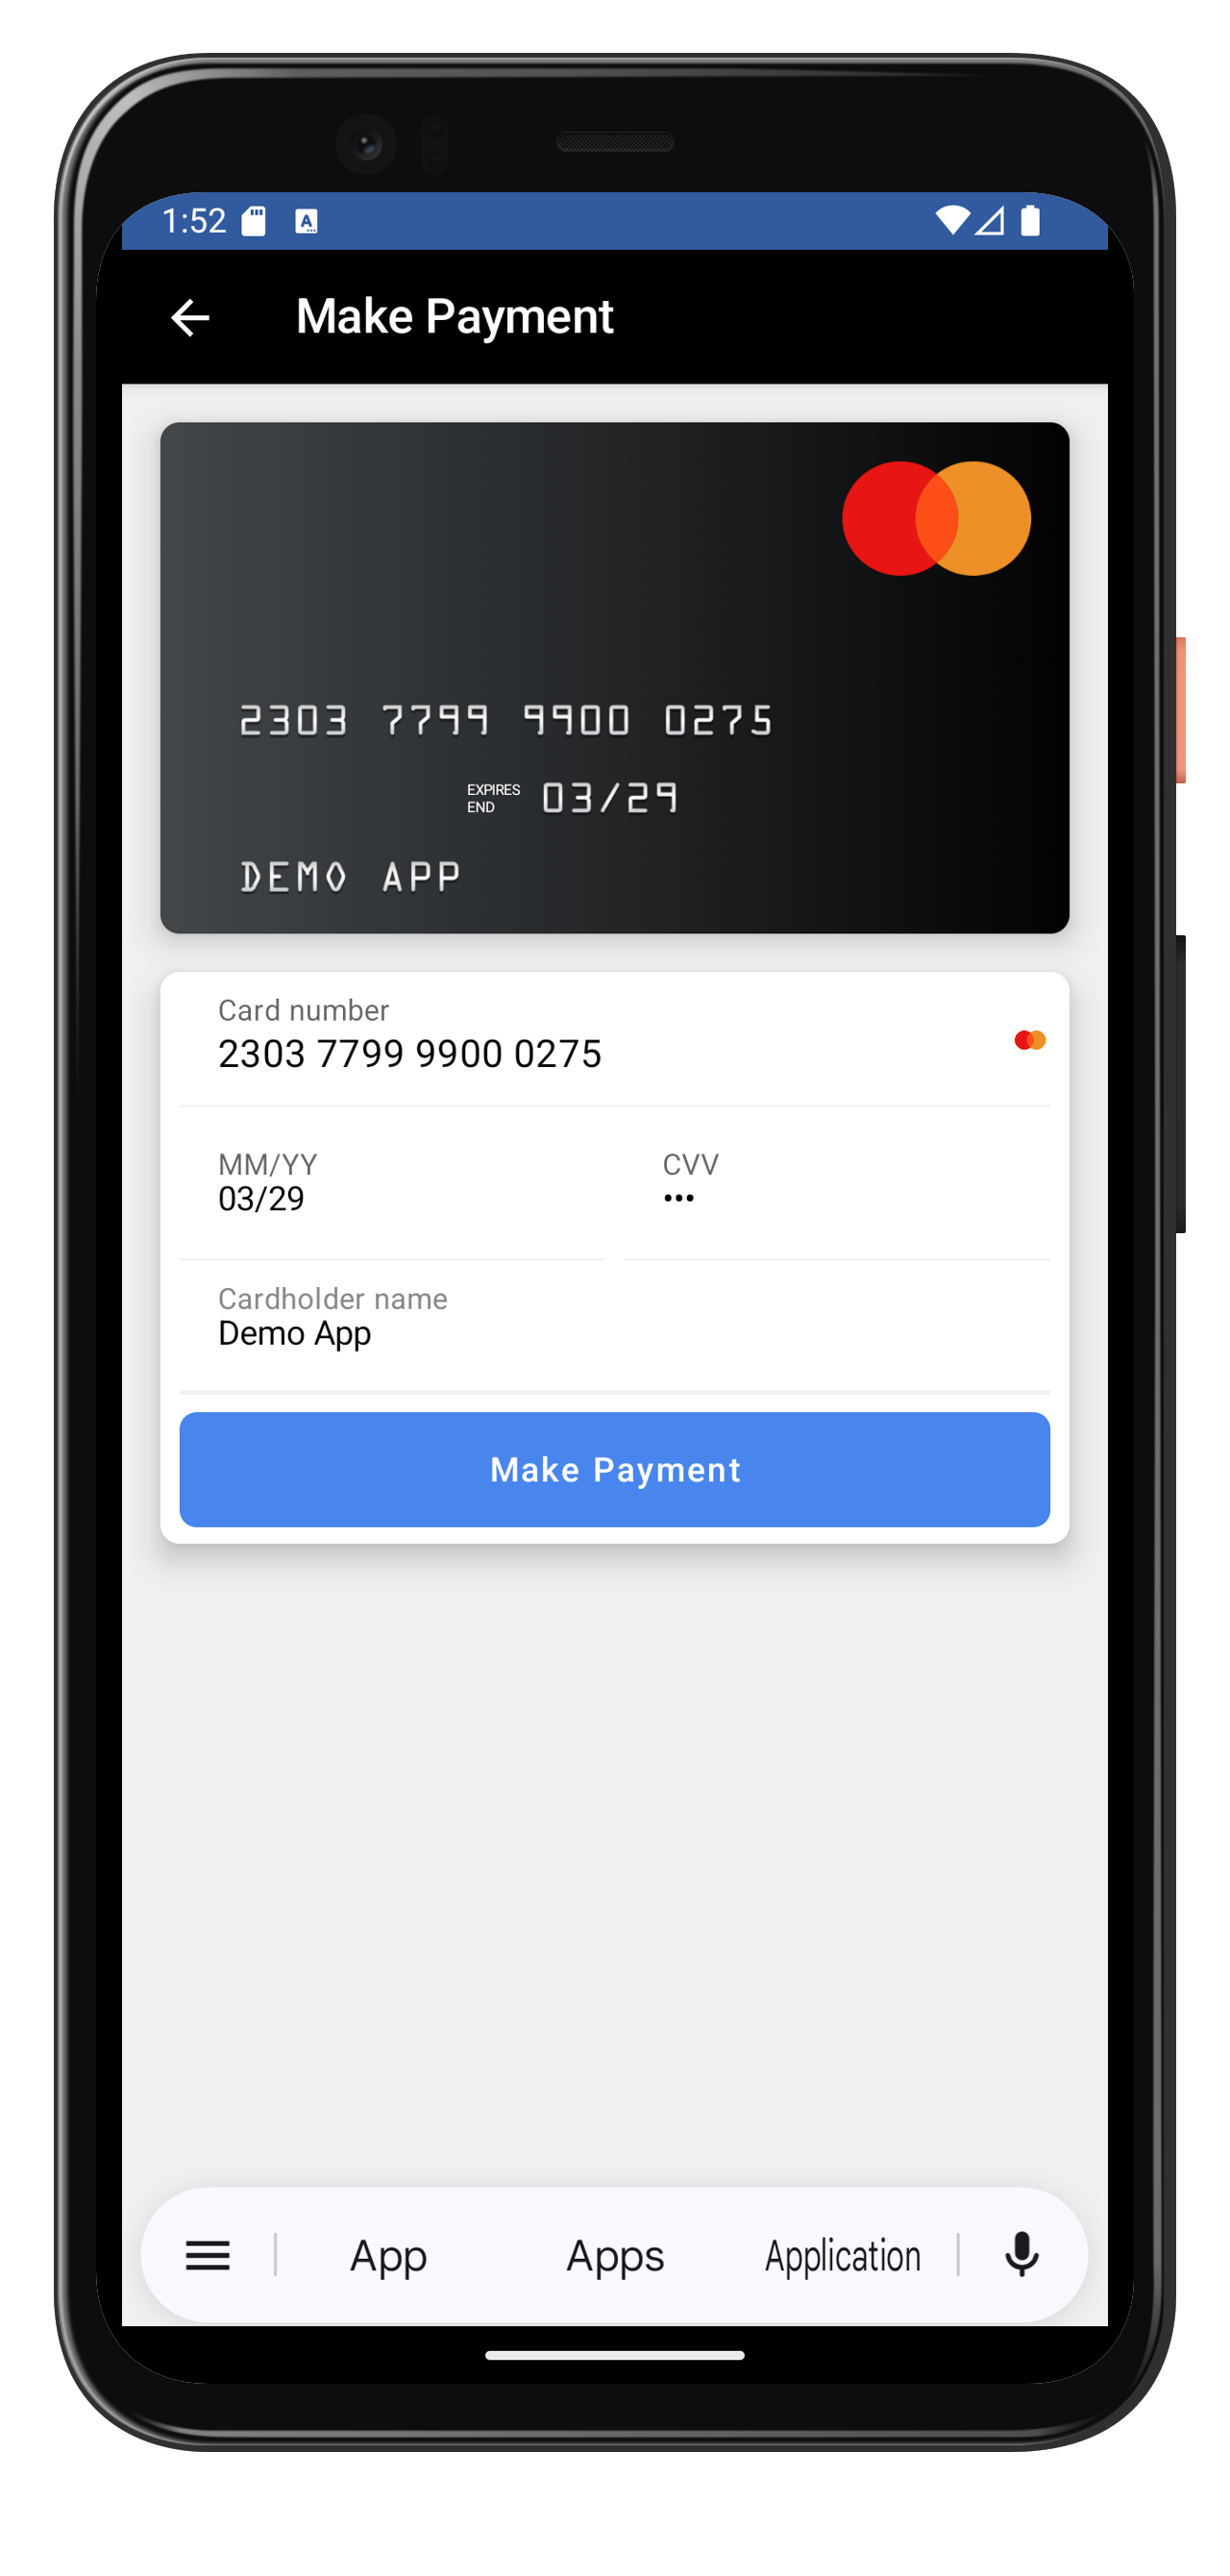
Enter Card Details
The 3DS challenge screen will appear. Enter the one-time passcode (OTP) and tap "Submit." Note: This screen will not appear for frictionless transactions.
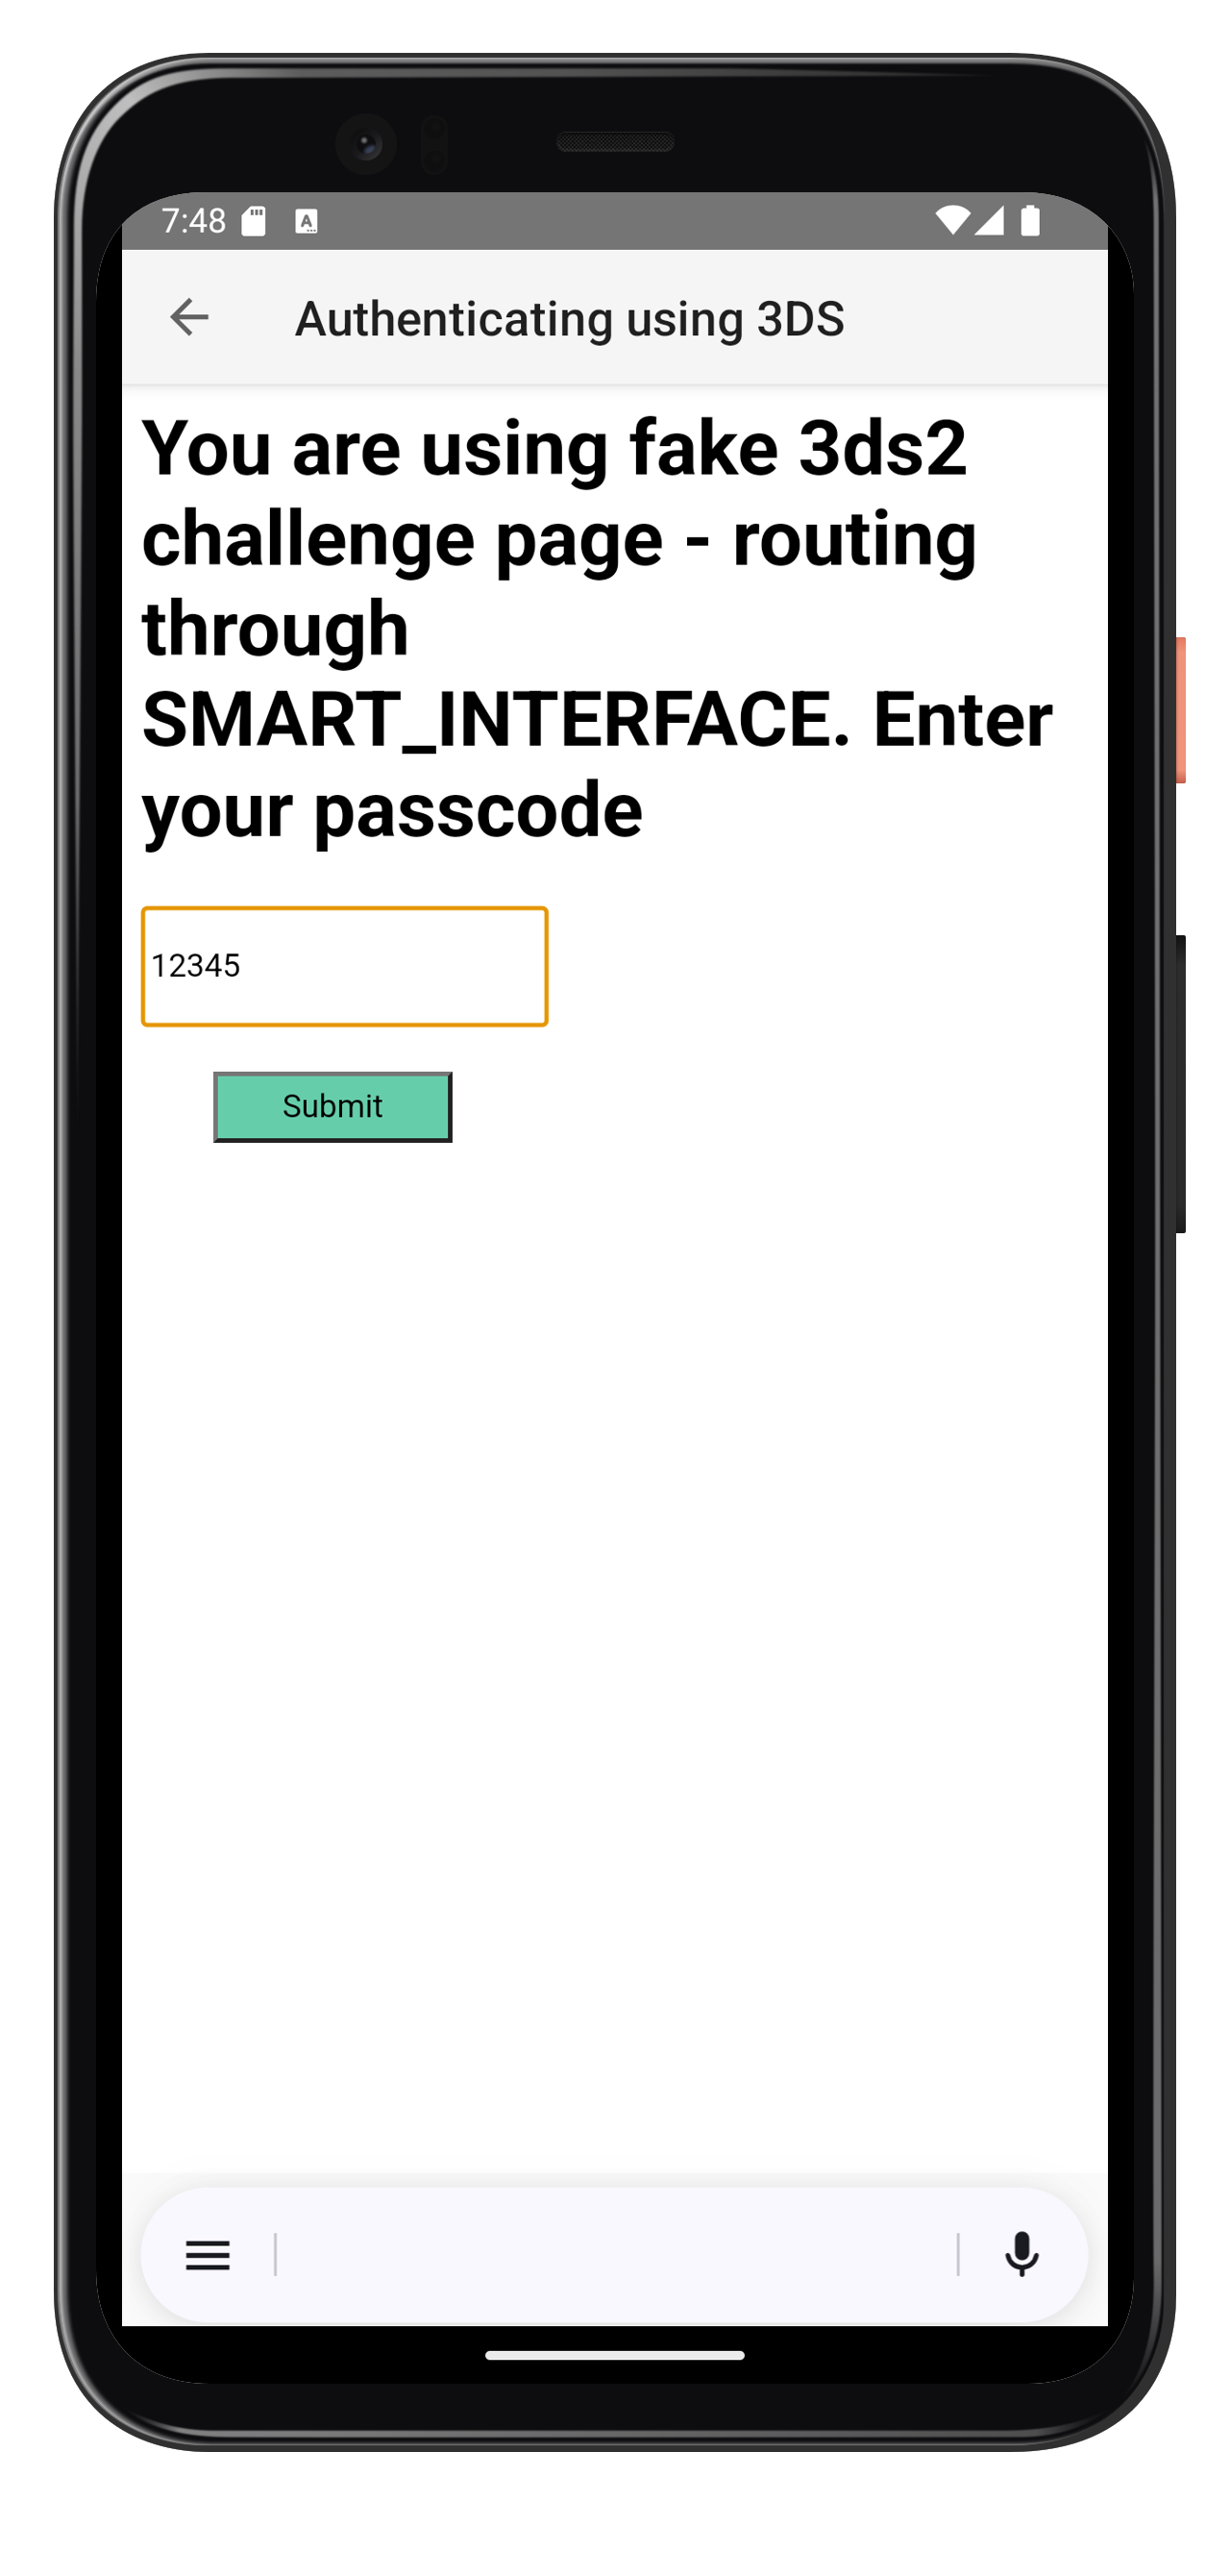
3DS Challenge
The app will authorize via 3DS, displaying a "Payment Success" message. Congratulations!

Successful Payment.
SDK Payment Flow
When you tap PAY WITH CARD in the sample app:
-
The app requests a payment session from the sample merchant server.
-
It then hands off control to the Payment SDK, which:
- Displays a secure card entry form
- Handles 3D Secure authentication (if required)
- Returns a success or failure response to the app
Payment API Reference
Use the Payment SDK to easily integrate secure card payments into your Android app. This section outlines how to configure the SDK, initiate card payments, and handle results from the Payment Gateway.
SDK Modules
The SDK is modular—import only the components you need to keep your app lightweight and efficient.
Required Modules
At minimum, import the following Gradle modules:
payment-sdk
payment-sdk-core
Optional Modules
Other modules support specific payment methods. Only import those relevant to your integration to reduce your APK size and build time.
PaymentClient
The PaymentClient class is your main entry point to initiate and manage payment flows from within your app.
🔧 Initialization
You must instantiate PaymentClient using an Activity (not just a Context), since payment results are returned via onActivityResult().
class PaymentClient(private val context: Activity)
Important: Android’s onActivityResult pattern is legacy. For new integrations, use the launcher-based approach shown above.
For usage examples, refer to the sample Furniture Store Android App.
Deprecation notice (Saved Card — legacy approach)Legacy saved card flows using PaymentClient and onActivityResult are deprecated and should not be used for new integrations.
Use the launcher-based Saved Card payment flow instead (see Saved Card Payments – Launcher-Based Approach).
Amount Representation
Amounts in the SDK are represented using BigDecimal.
Each currency has a specific exponent (e.g. 2 for AED, meaning values are in hundredths):
| Currency | Exponent | Format |
|---|---|---|
| AED | 2 | major.minor |
| AED 0.00 | → | 0.00 |
Card Payments
This section walks through how to initiate and handle card payments using the SDK.
Payment Flow
- Merchant App requests a payment session from your merchant server.
- Merchant Server returns payment session details.
- App calls
launchCardPayment()with the required parameters. - SDK presents a card input form to the user and handles 3D Secure if necessary.
- Payment Gateway processes the payment and returns a result.
- SDK returns the result to the merchant app via
onActivityResult().
Launch a Card Payment
Use the following method to launch a card payment:
Note (Saved Card flow)If you are implementing Saved Card payments, do not use the legacy PaymentClient + onActivityResult approach. That pattern is deprecated.
Use the launcher-based Saved Card payment flow (see Saved Card Payments – Launcher-Based Approach).
paymentClient.launchCardPayment(
    request: CardPaymentRequest,
    requestCode: Int
)
This internally launches an activity to collect card details and manage the 3D Secure flow. When the payment is complete, onActivityResult() is triggered in your calling activity.
Saved Card Payments – Launcher-Based Approach
Use this approach to launch a Saved Card payment flow using the modern launcher pattern and receive results via a callback.
1. Initialise the launcher
private val savedCardPaymentLauncher = SavedCardPaymentLauncher(this) {
    viewModel.onPaymentResult(it)
}
2. Trigger a Saved Card payment
savedCardPaymentLauncher.launch(
    SavedCardPaymentRequest.Builder()
        .payPageUrl(payPageUrl)
        .gatewayAuthorizationUrl(authorizationUrl)
        .build()
)
3. Handle the payment result
fun onPaymentResult(result: PaymentsResult) {
    when (result) {
        PaymentsResult.Success -> saveCardFromOrder(orderReference)
        PaymentsResult.Authorised -> { /* handle authorised state */ }
        PaymentsResult.Cancelled -> { /* handle cancellation */ }
        is PaymentsResult.Failed -> { /* handle failure using result.error */ }
    }
}
Why this matters
This launcher-based approach ensures merchants follow the recommended Saved Card integration pattern and avoid deprecated SDK usage (PaymentClient + onActivityResult).
Handle the Result
Example of handling the card payment result:
override fun onActivityResult(requestCode: Int, resultCode: Int, data: Intent?) {
    super.onActivityResult(requestCode, resultCode, data)

    if (requestCode == CARD_PAYMENT_REQUEST_CODE) {
        when (resultCode) {
            Activity.RESULT_OK -> onCardPaymentResponse(
                CardPaymentData.getFromIntent(data!!)
            )
            Activity.RESULT_CANCELED -> onCardPaymentCancelled()
        }
    }
}
If the user cancels the payment (e.g. presses Back),RESULT_CANCELEDis returned
Result Codes
Once the SDK returns control, you can evaluate the outcome using CardPaymentData:
override fun onCardPaymentResponse(data: CardPaymentData) {
    when (data.code) {
      	CardPaymentData.STATUS_PAYMENT_AUTHORIZED,
				CardPaymentData.STATUS_PAYMENT_PURCHASED,
        CardPaymentData.STATUS_PAYMENT_CAPTURED -> {
            view.showOrderSuccessful()
        }
        CardPaymentData.STATUS_PAYMENT_FAILED -> {
            view.showError("Payment failed")
        }
        CardPaymentData.STATUS_GENERIC_ERROR -> {
            view.showError("Generic error (${data.reason})")
        }
        else -> IllegalArgumentException("Unknown payment response (${data.reason})")
    }
}
Result Code Descriptions
| Status Code | Description |
|---|---|
STATUS_PAYMENT_CAPTURED | Payment was successfully captured (SALE action). |
STATUS_PAYMENT_PURCHASED | Payment was successful (PURCHASE action) |
STATUS_PAYMENT_AUTHORIZED | Payment was successfully authorized (AUTH action). |
STATUS_PAYMENT_FAILED | Payment failed at the Payment Gateway. |
STATUS_GENERIC_ERROR | Generic client-side error (e.g., network issue or unexpected exception). |
Create a Card Payment Request
Before launching a card payment, you need to create a CardPaymentRequest object using the CardPaymentRequest.Builder class.
The Builder requires only one parameter to create a valid request:
gatewayUrl– This URL is provided by the merchant server after initiating order creation. The merchant app uses this URL to build the card payment request.
Currency Units for Order Creation
Unlike the SDK, which uses BigDecimal, the payment gateway requires amount values to be sent as an integer during order creation. This integer represents the full amount in the smallest currency unit.
Examples:
- AED 1.00 →
100 - AED 3.99 →
399 - USD 1.00 →
100
Refer to the PaymentOrderApiInteractor class in the sample merchant app for more information.
Configure Project Dependencies
Follow the steps below to import the SDK modules into your Android Studio project.
-
Import SDK Modules
- Right-click your main app module and choose New > Import Module...
- Select the
payment-sdkfolder and click Open. - The
payment-sdkmodule will automatically pull in any additional dependencies.
-
Add SDK Modules to App Dependencies
-
Right-click your main app module and choose Open Module Settings.
-
In the Project Structure window:
- Go to the Dependencies tab.
- Click the + button and choose Module Dependency.
- In the list, select all the SDK modules (hold Shift to select multiple).
- Click OK.
-
Once added, your project is ready to use the SDK.
Using executeThreeDS()
executeThreeDS()
Deprecation notice (Saved Card — legacy approach)Any saved card flows that rely on PaymentClient and onActivityResult (including older patterns that combine 3-D Secure handling with legacy activity results) are deprecated and should not be used for new integrations.
Use the launcher-based Saved Card payment flow.
The SDK provides an executeThreeDS() method that allows you to trigger the EMV 3-D Secure flow. This is useful when integrating tokenized payments (e.g. saved cards) and want to authenticate the cardholder securely.
paymentClient.executeThreeDS(
    paymentResponse: PaymentResponse,
    requestCode: Int
)paymentResponseis the full JSON response returned from the N-Genius Online saved card payment API.requestCodehelps distinguish this callback inonActivityResult().
Customize SDK UI Colors
You can customize the Payment SDK’s color scheme to match your brand. To do this, override specific color resources in your project’s resource files (colors.xml).
Example:
<color name="sdk_primary_color">#FF6200EE</color>
<color name="sdk_secondary_color">#FF03DAC5</color>
Refer to the SDK theming documentation (or contact your relationship manager) for the full list of customizable keys.
See our webhooks guide for a complete list of features.
Latest SDK Updates
Android SDK v7.0.0 introduces several major improvements to the mobile payment experience, including:
- Unified Payment Page support
- AANI QR code payments
- Click to Pay enhancements
- SDK theming and localization updates
- Payment UI refreshes
- Enhanced testing and environment management