Create New Pay By Link
Generate a Unique Invoice
Create a New Payment Link
Use this page to create and send a secure payment link to your customer.
Prerequisite
Ensure Configuration and Email templates are set so your sender, logo, and defaults are correct.
Open the new link form
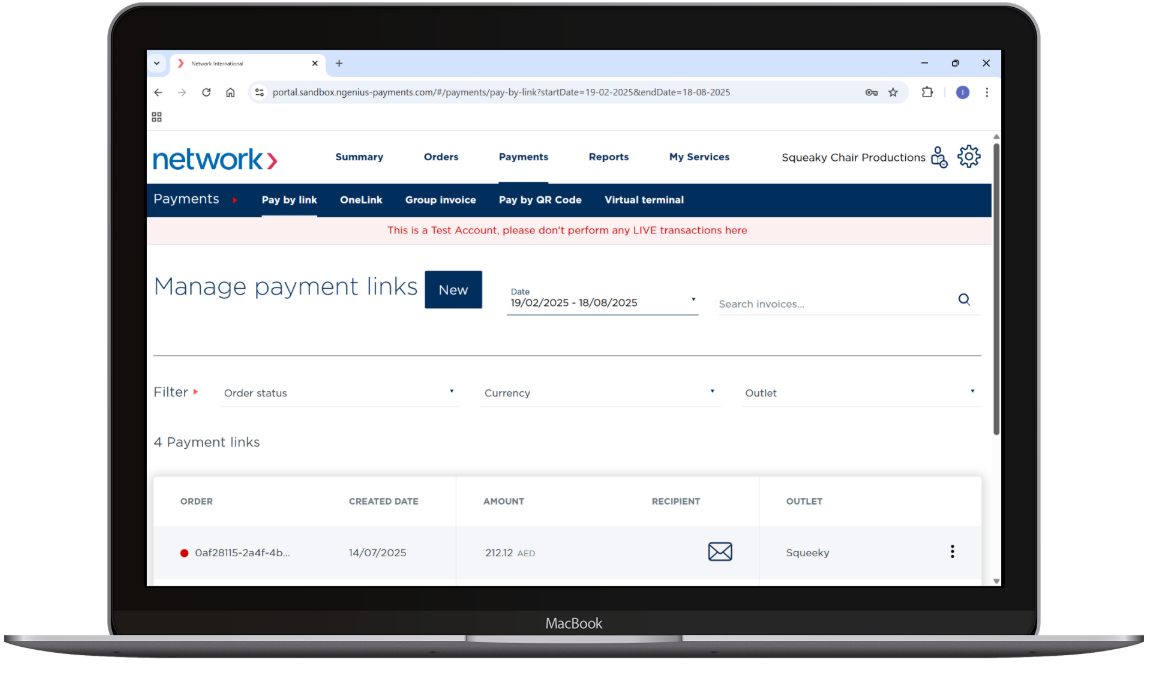
- Go to Payments (top menu).
- Click New. The Add New Invoice page opens.

Fill in the details
1) Outlet
Choose the Outlet from the dropdown.
2) Bill To
Enter First name, Last name, Email (optional CC email), and an Order reference (optional).
3) Pay by Link details
Select Transaction type and Currency from the dropdowns.
4) Link expiry
Click the Link Expiry Date field to pick a date.
Use  and
and  to change months.

5) Line items
Add Item description, Quantity, and Amount.
Click Add another item to include more lines if needed.
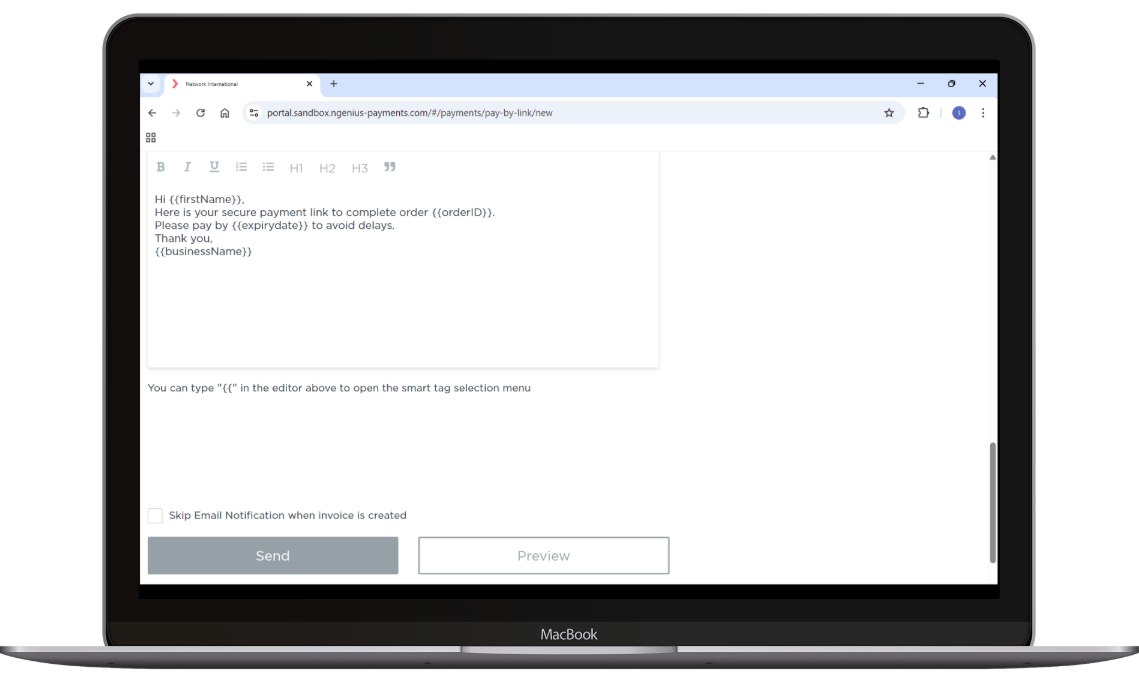
6) Message & template (optional)
- Select an Email template and tweak if required.
- Add a short message to provide context (e.g., booking details, deadline).
7) Preview & send
- Click Preview to see the email.
- Click Send to deliver the payment link to your customer.
You’ll see: “Invoice xxxx was sent to xxxx”.

After sending
- The new link appears in Manage payment links where you can track status, resend, cancel, or export.
- If a link has expired, resending will duplicate it with a new reference and expiry automatically.
Tips
- Include order reference, amount, currency, and a clear expiry in your message.
- For mobile-first customers, consider sending via SMS: see Pay by Link via SMS.
- To share on social or messaging apps, see Social share.
Related
- Email templates → /docs/email-templates-configuration
- Track & manage → /docs/manage-payment-links
- Automate via API → Invoicing via API
Updated 6 months ago