

Pay by QR code guide
Create and display a payment QR code from the Merchant Portal using Payment Details, Item Details and optional Customer Details.
Create a payment QR code in the Merchant Portal and display it for your customer to scan.
Open Pay by QR code
- Sign in to the Merchant Portal.
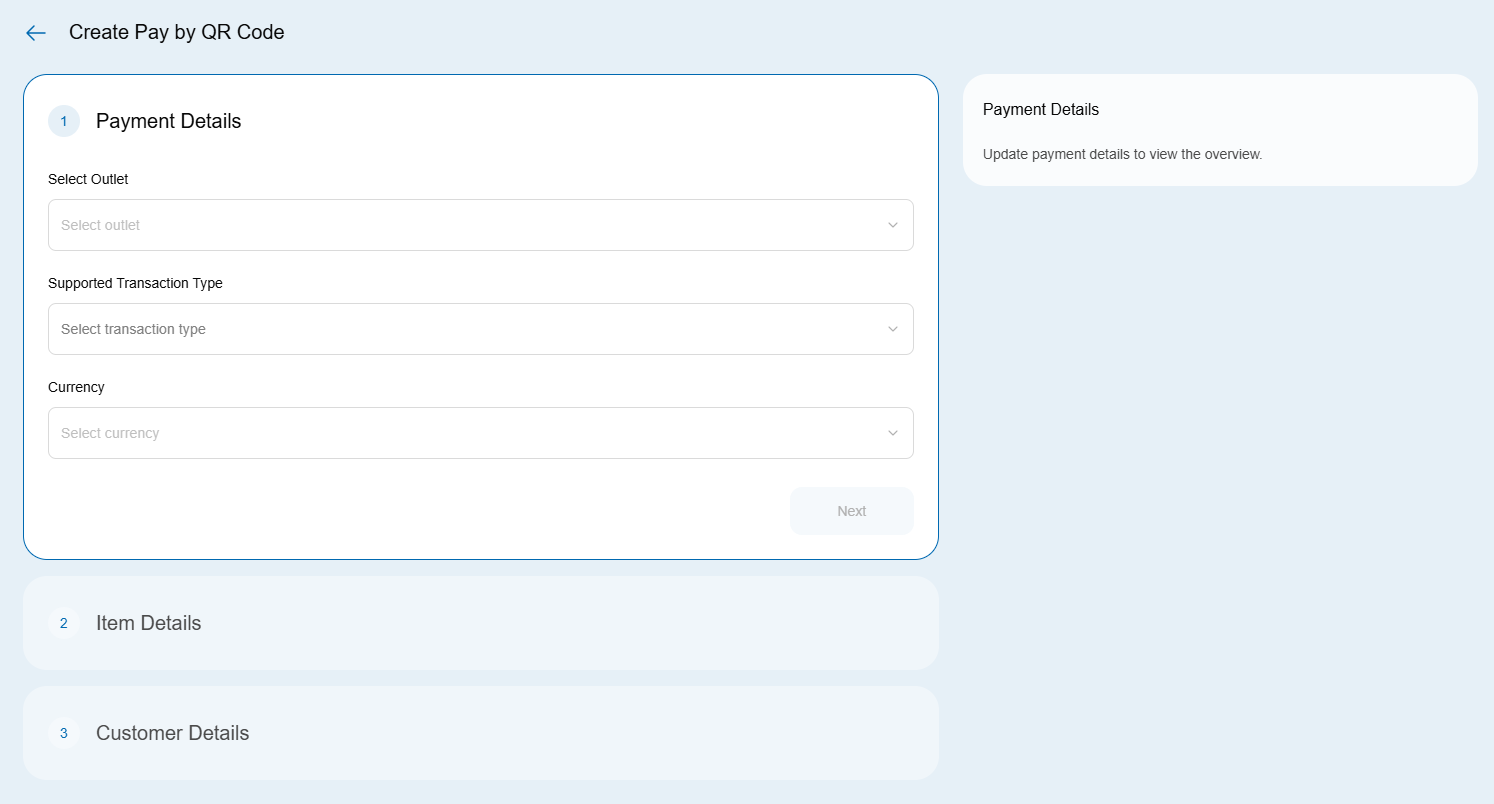
- Open Payments → Pay by QR code. The page contains Payment Details, Item Details and Customer Details sections.
Enter payment details
-
Choose an outlet from Select outlet.
-
Choose a Supported transaction type (note: for QR code, you must select a purchase transaction type).
-
Choose a Currency.
-
Click Next.
Enter item details
-
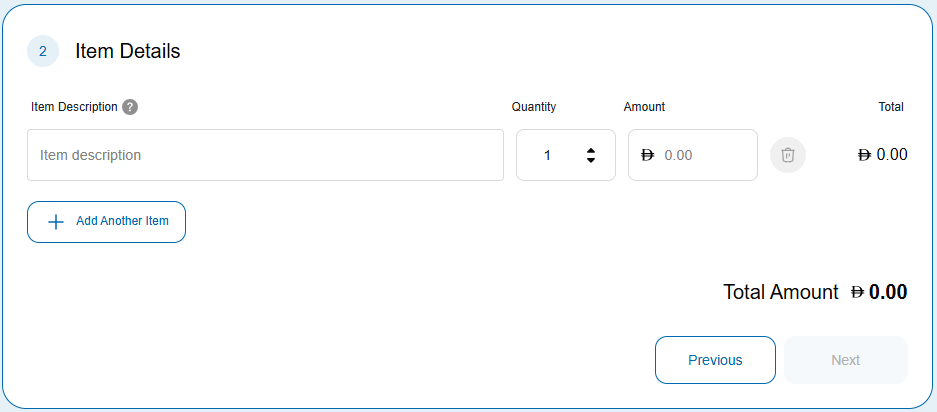
Enter an item description, quantity and amount.
-
Click Add another item if you need more line items, then enter their details.
-
Click Next.
Review customer details and create the QR code
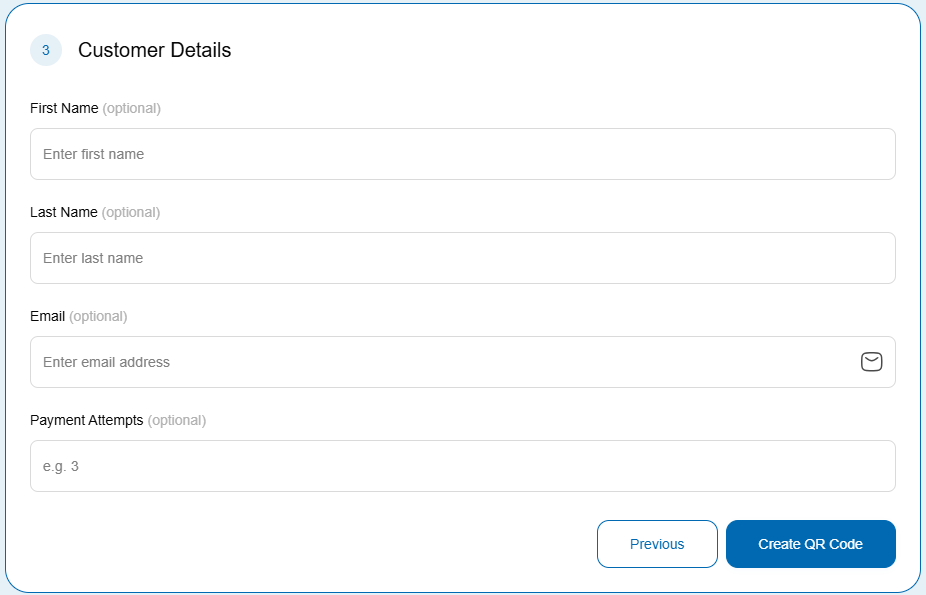
The Customer Details section contains these optional fields:
| Field | Entry |
|---|---|
| First name | Customer's first name |
| Last name | Customer's last name |
| Customer's email address | |
| Payment attempts | Number of payment attempts |
- Complete the optional fields you want to supply.
- Review your entries, then click Create QR.
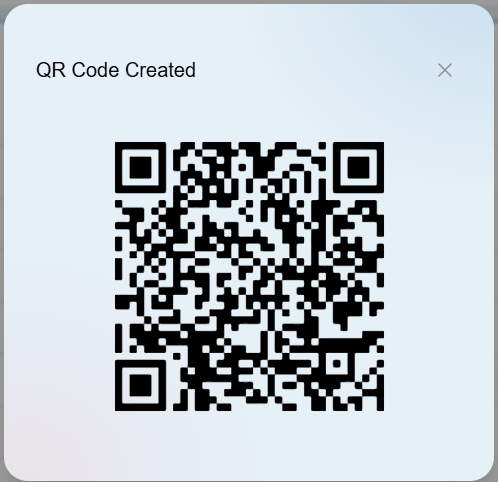
A QR code appears on screen.
Present the QR code
- Display the QR code for your customer to scan with a QR code scanner on their phone.
- Ask your customer to review the requested amount on the payment page and complete payment there.
Displaying or scanning the QR code does not confirm a successful payment. This procedure covers QR-code creation and presentation; the payment-confirmation method still needs verification.
Related
Updated 1 day ago