PrestaShop 8

PrestaShop is a freely accessible, easy-to-use platform that enables merchants to build comprehensive websites with rich functionality. It provides a complete set of features free of cost and offers a robust and responsive store interface for shoppers. Nearly 300,000 websites use its software across the globe.
You can find out more about PrestaShop here
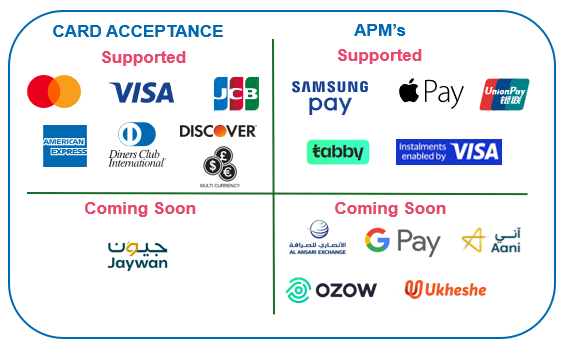
Abandoned Orders Feature
We’ve added the Abandoned Orders feature to our PrestaShop plugin. What this means is that for any orders that your customers do not complete (Abandon) i.e. Customer gets onto the pay page and then decides to close the browser window thus leaving the transaction in an open status, we would automatically send a request to cancel the order and update the order with a closed status.
More information on the feature can be found here
New — Pay by Link for PrestaShop
Create an order, send a pre-filled invoice email, and let customers pay from a secure checkout link—fast, no code.
→ See PrestaShop: Pay by Link (Invoices)
Prerequisites
PrestaShop needs the following server configuration to run:
- System: Unix, Linux or Windows.
- Web Server: Apache Web Server 2.4 or any later version. (Although compatible, Apache Web Server 2.2 is not recommended since it reached its EOL in 2018).
- PHP: We recommend PHP 8.1. See the compatibility chart below for more details. (Although compatible, PHP 7.2.5 to 8.0 are not recommended since they reached or will reach soon their end of support.)
- MySQL: 5.6 minimum, a recent version is recommended.
- Server RAM: The more the merrier. We recommend setting the memory allocation per script (
memory_limit) to a minimum of 256M.
PrestaShop can also work with Nginx 1.0 or later.
Download
The latest version of the plugin can be downloaded here. Once downloaded, unzip the file, and you will find an ngenius folder. Zip this ngenius folder (only), and use this ZIP file for the installation steps below.
Installation
- Login to the PrestaShop Admin Panel
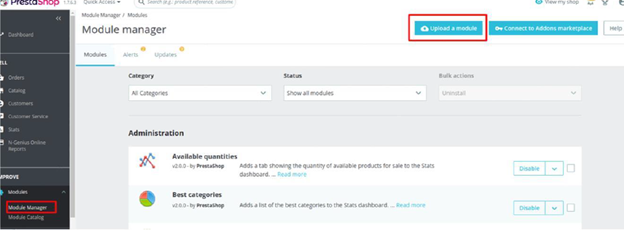
- Navigate to Modules. Under Module Manager/Module Catalog, click on “Install a module”
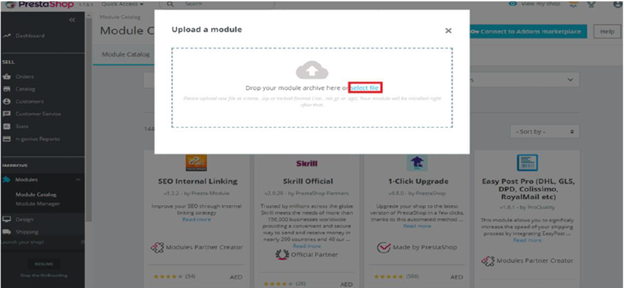
- Popup will appear to upload the module file. Choose the module zip file:
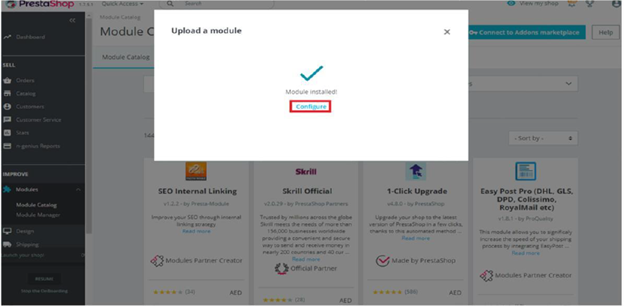
- Once it has uploaded, the module will automatically install, and a success message will show in the popup:
Configuration
- Click on the “Configure” button and a configuration screen will be displayed as shown below.
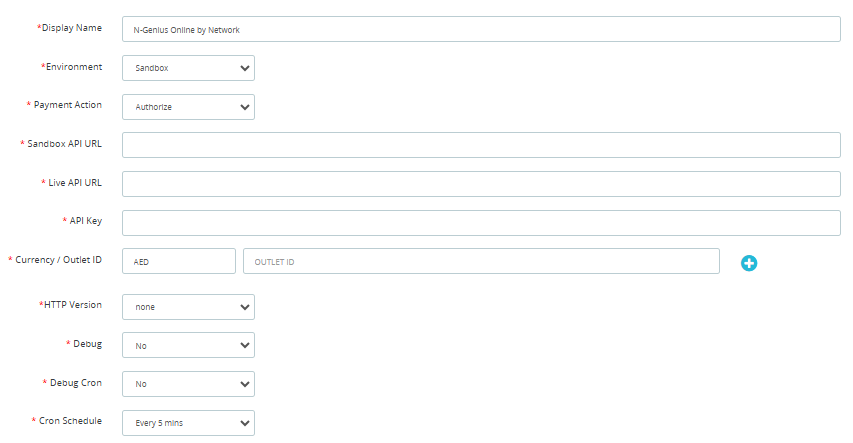
- Display Name: Text to display in the front-end
- Environment: Sandbox/Live
- Payment Action: Authorize/Sale/Purchase
- Sandbox/Live API URL – Default URLs pre-loaded. For Partners - Enter URLs provided by the Bank
- Currency/Outlet ID: Currency & ID should match the environment selected. Additional Currencies can be configured if provided by NI or Bank
- Hosted Payment Page API Key: API Key should match the environment selected.
- HTTP Version - Select the HTTP Version compatible with your server
- Debug: Log file will be created.
- Debug Cron - Select Yes or No
- Cron Schedule - Select the preferred time
Customer Shopping and Payment Page Redirection
When the customer is doing online shopping on the merchant’s website, the N-Genius Online Payment Gateway will now be available as a payment option on the “Checkout” Page.
To check this journey for yourself, please follow these steps...
- Open your PrestaShop Website and add some items to the cart. Click on Proceed to Checkout Button and follow the steps in the Checkout process.
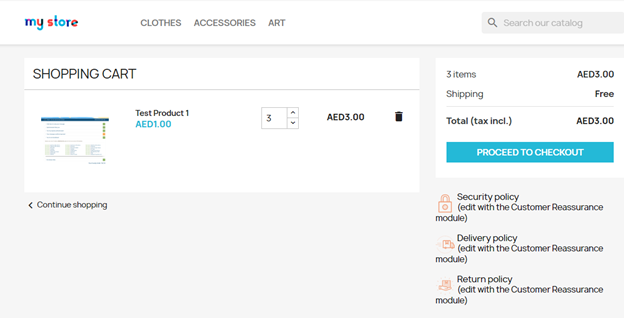
- Continue with the checkout process. You will notice that N-Genius Online Payment Gateway is available as a payment option. Select the Payment option and click Place Order to be redirected to the Payment Page.
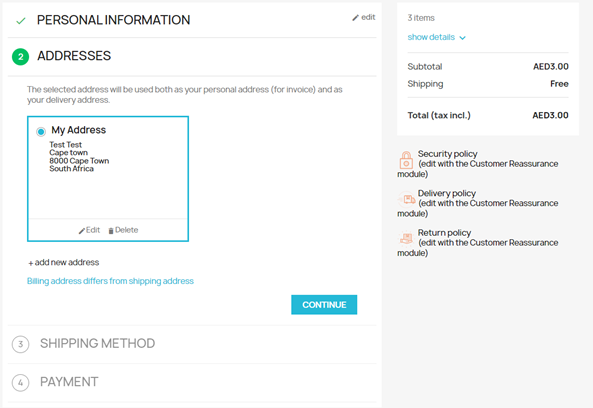
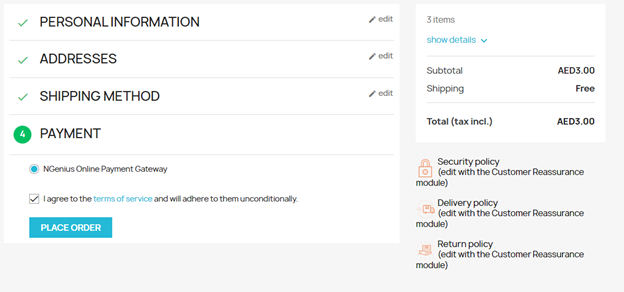
The page will then be redirected to the N-Genius Online Payment Page. Fill in the card details. After submitting the details, the page will be redirected to a 3-D Secure page.
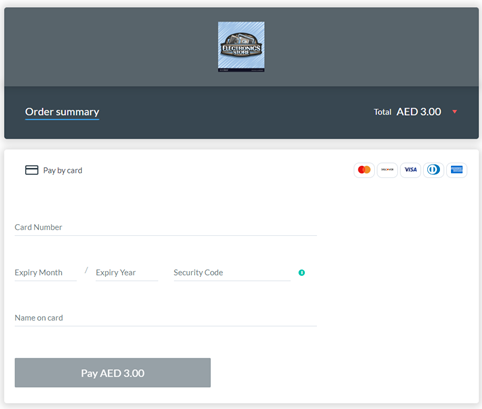
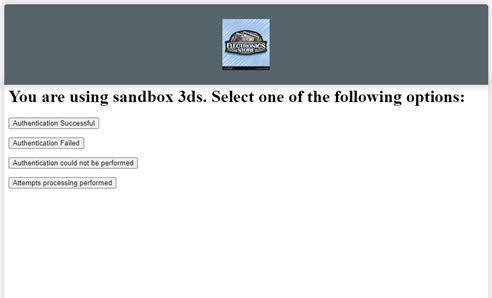
- Once the payment is processed, your browser will be redirected back to your PrestaShop Website.
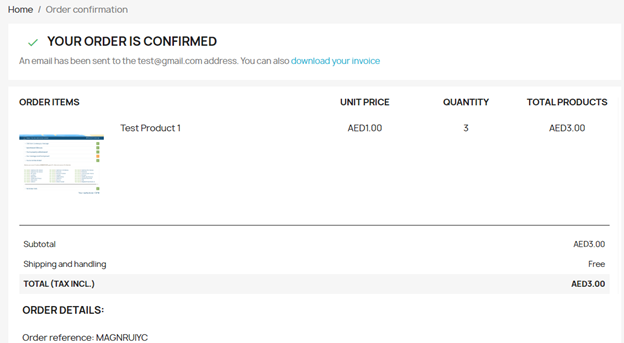
- To view the test order you just placed, go to the PrestaShop Admin Panel, then click Orders and select Orders

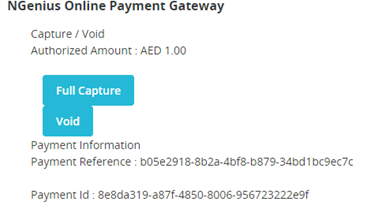
- When viewing the order, you will be able to Void the transaction if the transaction type was Authorize
- When viewing the order, you will be able to fully Capture the transaction if the transaction type is Authorize
- When viewing the order, you will be able to Refund the transaction after 24 hours if the transaction type was Sale or Purchase.
- To Refund an Order, Go to Orders > Orders and then click View on the order you’d like to Refund. Once the order is displayed, Scroll down to N-Genius Online Payment Gateway. Enter the amount you’d like to refund and click the Refund button. The status of the order will change to Fully Refunded. If you’d like to process a Partial Refund, you can just enter the amount you would like to refund and then click the Refund button. Please note that the status of the order needs to be N-Genius Online Complete in Order to process a Refund.
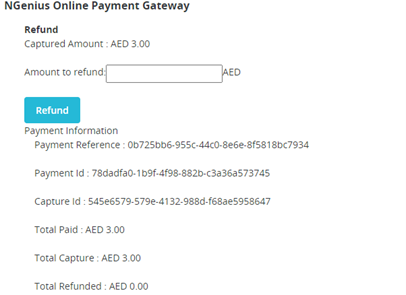
- To Void or Fully Capture an Order, Go to Orders > Orders and then click View on the order you’d like to Void (Auth Reversal) Or Fully Capture. Click Void. The transaction will now be reversed. Please note that you can only Void a transaction if the transaction has a transaction status ‘N-Genius Authorized’. To Capture a transaction, click Full Capture. The transaction status will change to N-Genius Online Complete. Please note that you can only capture a transaction if the transaction has a transaction status ‘N-Genius Authorized’
GitHub Notifications
To receive notifications when any Network International plugin versioning or new plugin has been released, you will need to follow the below steps:
- Create an account on GitHub here
- Once your account is created, click on this link which will take you directly to the Network International repository.
- Click follow. You will start receiving updates when new/updated plugins have been released

- Once in the network-international repository, scroll down or search for the plugin that you would like to be notified on.
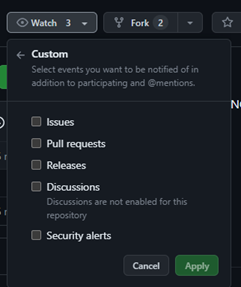
- Once the plugin is found, go into the repository, and click Watch. You will now receive all notifications for the plugin.

- You can also use Custom notification settings by clicking on the down arrow if you would like to be notified of certain events
Troubleshooting
- If you receive the below error, please check if you have the correct API URL loaded.

- If you receive the below error, please check if you have the correct Environment or API Key loaded

- If you receive the below error, Outlet ID is incorrect. Please confirm that you’ve inserted the correct Outlet ID

- If you receive the below error, the currency is not linked/loaded to the Outlet ID
Updated 6 months ago